Doll Hair Tutorial
This tutorial will show you how to add yarn hair to a knitted doll, such as the Little Mermaid Topsy-Turvy Dolls.
Start by neatly wrapping the yarn around a piece of cardstock or cardboard that is half as long as you want the strands to be. In this case, we want 18-inch (46 cm) strands so we are using cardstock that is 9-inches (23 cm) long. With scissors, cut along one edge.
Cutting the strands
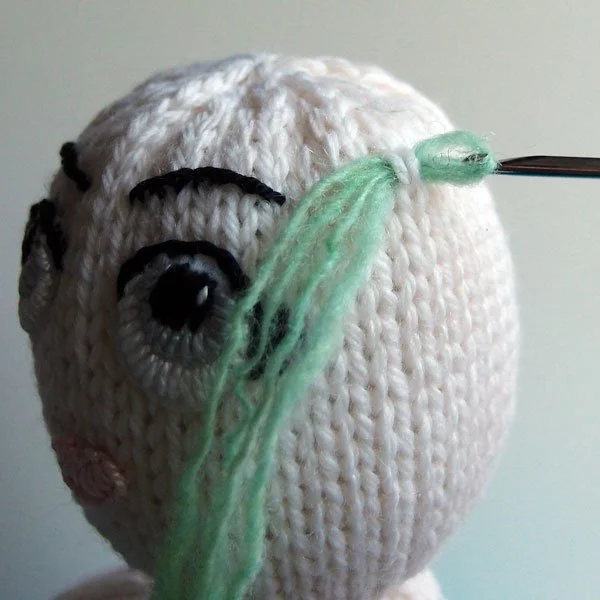
If the yarn is fine, you can hold two strands together, otherwise, work with single strands. Your crochet hook should be large enough to be able to hook the yarn easily, but small enough to be able to go through the knit stitches on the head without stretching them out of shape. Insert the crochet hook into a knit stitch, fold a strand in half, place the loop on the hook, then pull the loop through the knit stitch.
Hooking the first strand.
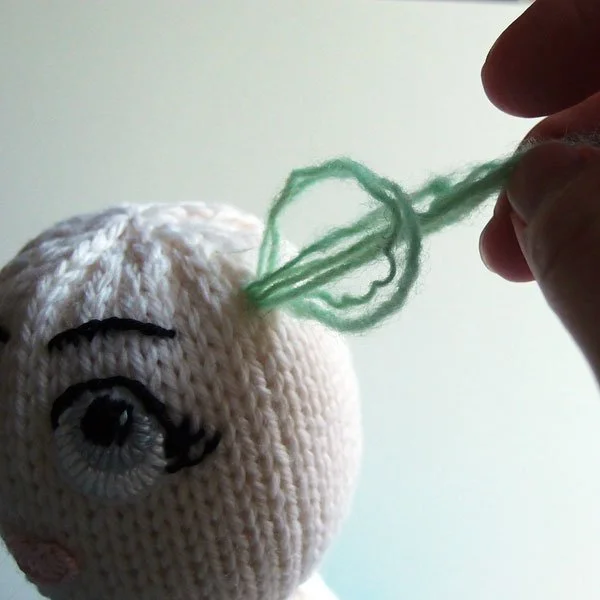
Make the loop large enough to insert your fingers.
Pulling up a loop.
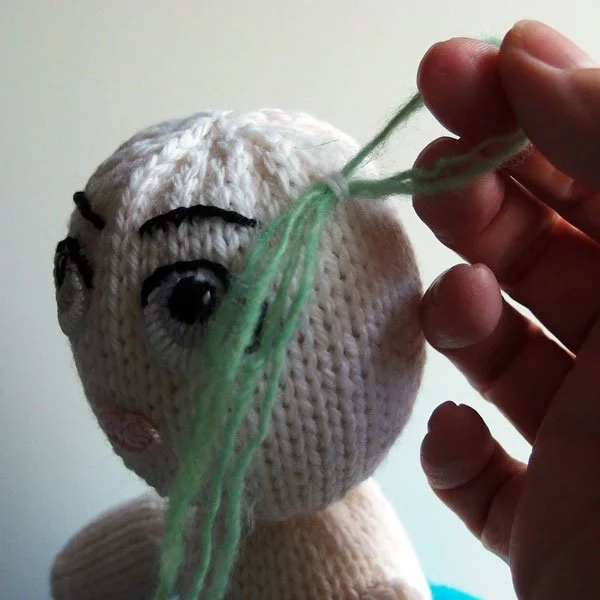
Reach through the loop to grasp the ends of the strand and pull them through.
Pulling ends through.
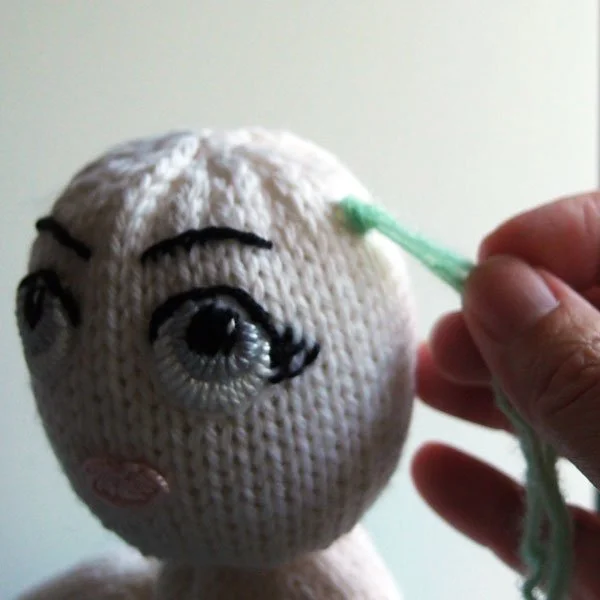
Keep pulling gently to tighten the knot and snug it up against the head.
Tighten the knot.
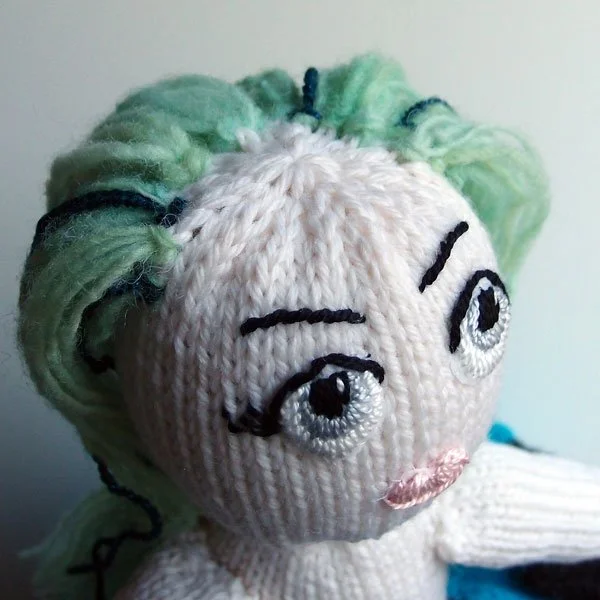
Make a row of knots all around the head. You can use the head stitches to help you keep the row of knots straight and to place them evenly–about every 2 or 3 stitches. Be careful not to put the hair too close to the face. Skip down two rows of head sttiches and make another row of knots. At this point, your doll’s hairstyle should resemble a monk’s.
After two rows of knots have been placed.
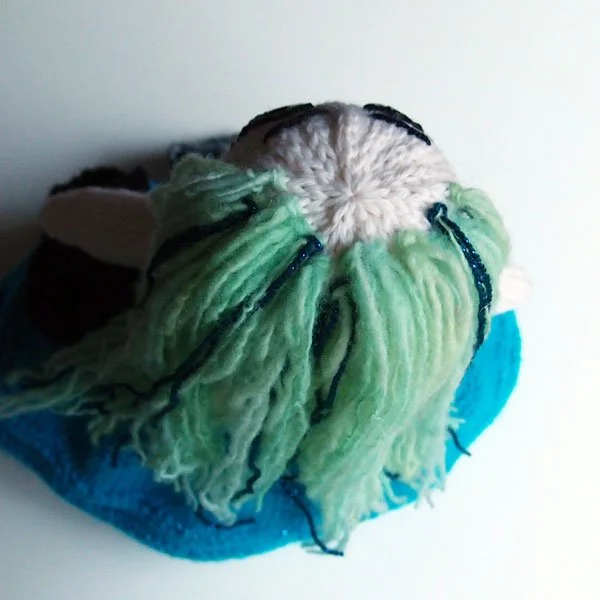
View from the top.
Fill in the top with evenly spaced knots, then flip the hair up and out of your way to place another row or two of knots below. Be careful not to put rows below about the level of the ear, and pay attention to how much weight is being added. If the hair becomes too heavy, the doll will be off balance and will be unable to stand up.
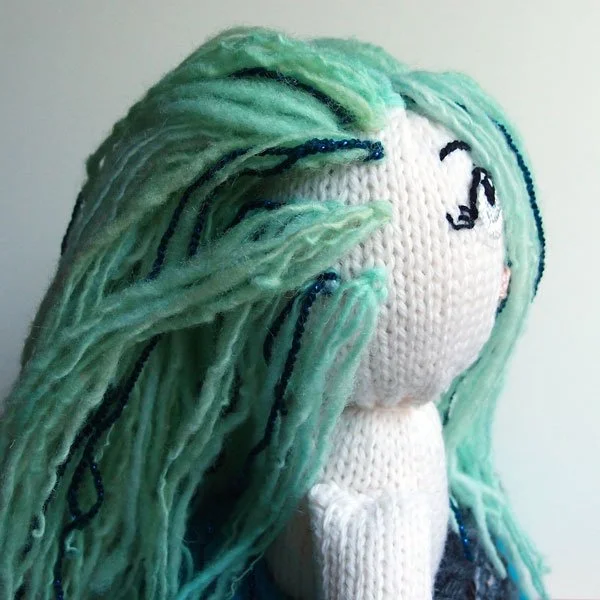
All the hair has been placed, as seen from the side.
From here you can style the hair as desired. If braids are desired, cut longer strands to place at the center front. A part is created by placing the knots so that they face in opposite directions.
This shows how the braids are added at center front
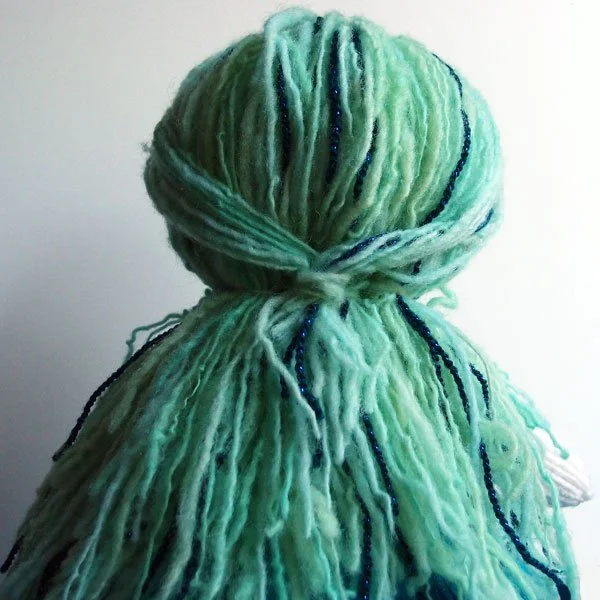
Keeping braids or some hair free at center front, split out a single ply of yarn or use matching sewing thread to sew bundles of hair to the back of the neck. Cover the stitching by draping the braids or loose hair around to the back and stitching into place with the single ply of yarn or matching sewing thread.
Finished hair. Note the horizontal stitching at the neck that keeps the hair in place and the bald areas from showing.
The braids are sewn down a the back of the neck.
The Girl’s hair is trimmed to be neater than the Mermaid’s
If the hair is short, first sew the hair to the back of the head, about eye level, then sew an additional row of stitching at the back of the neck. This will keep the bald areas covered.
Short hair needs an extra row of stitching towards the top of the head, as well as a row at the back of the neck.
