Purl-side Decreases Tutorial
Here’s how to do three purl-side decreases.
P2tog (purl 2 together)
This is exactly like a k2tog, except you purl instead of knit. This makes a right-leaning decrease and looks the same as a k2tog from the right side.
ssp (slip, slip, purl)
This makes a left-leaning decrease and looks the same as an ssk from the right side. There’s really only one tricky bit…
First slip 2 stitches knitwise, one at a time (exactly the same as an ssk)
Slip the first stitch knitwise.
Slip the second stitch knitwise.
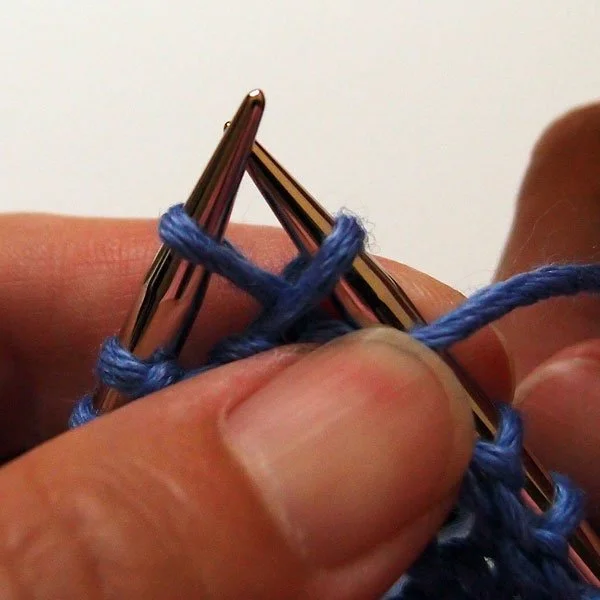
Slip both stitches purlwise back to the left-hand needle.
Slip both stitches purlwise back to the left-hand needle.
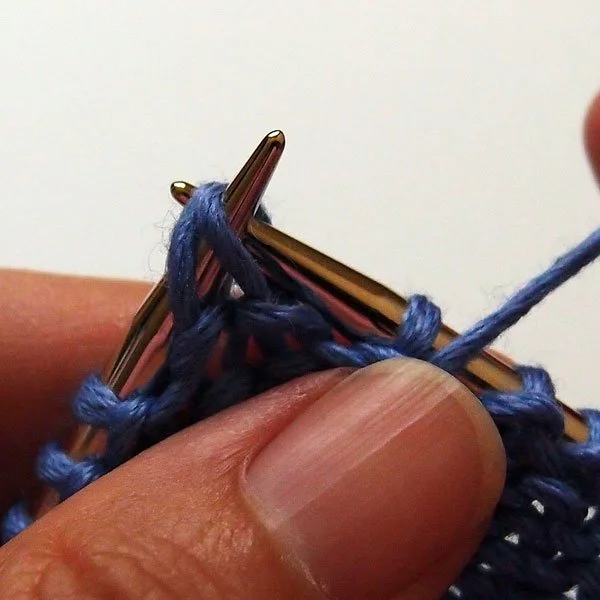
(Here’s the tricky bit), insert the tip of the right-hand needle into the back loops of both stitches from back to front. In other words insert into the back leg of the second stitch on the left-hand needle, then into the first stitch (yes, it’s a bit awkward at first, but a little practice does wonders)…
Insert right-hand needle through back loops of both stitches from back to front.
…then purl these stitches together.
Purl these two stitches together.
That’s it!
ssp completed!
dd (double decrease)
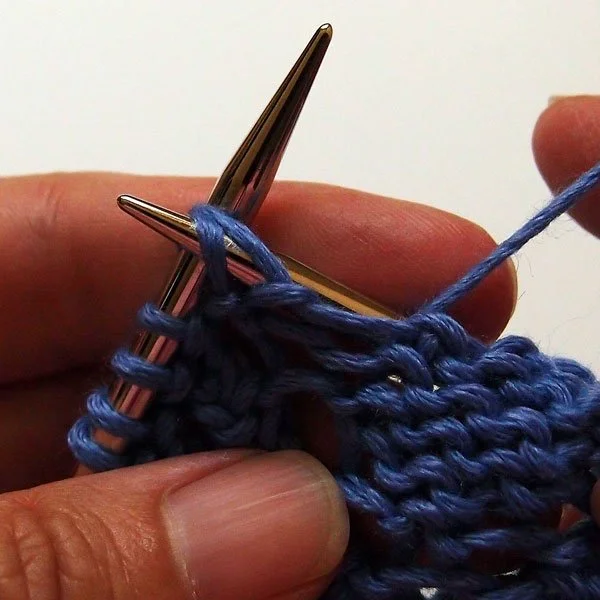
Purl 2 together, then slip the resulting stitch back to the left-hand needle.
Purl 2 stitches together.
Slip this stitch back to the left-hand needle.
Lift the second stitch on the left-hand needle over the top of the slipped stitch.
Lifting the stitch over the slipped stitch.
This is what it looks like when you have lifted the stitch over.
Slip the stitch back to the right-hand needle and move on!
Slip the stitch back to the right hand needle and you’re done!


